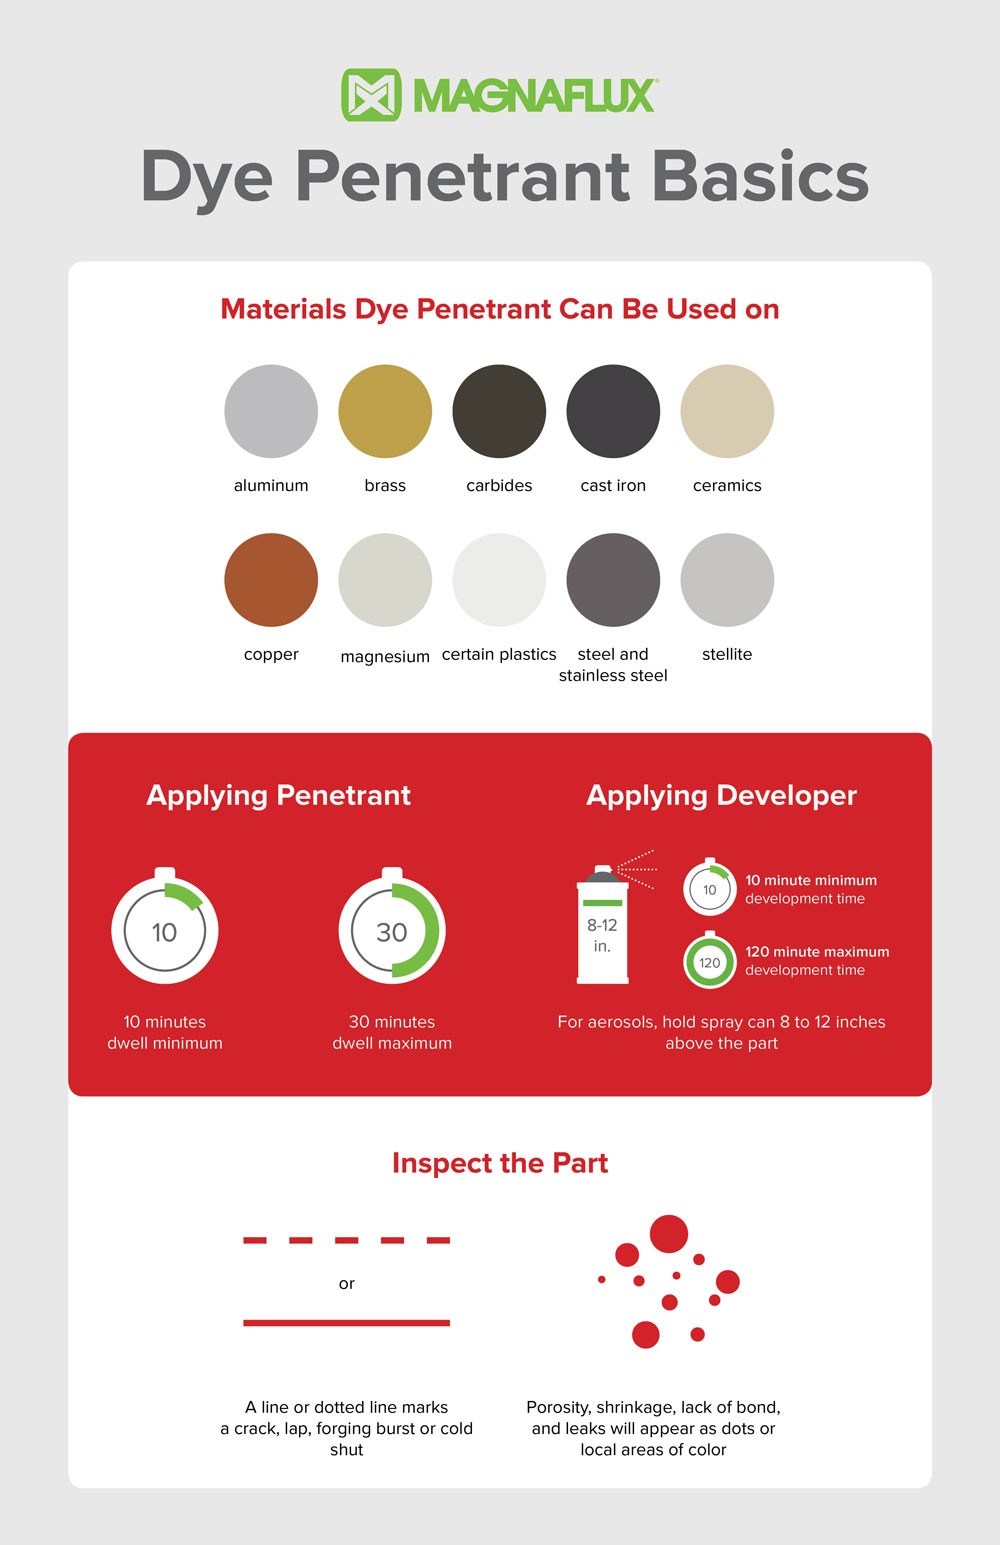
The dye penetrant method of inspection is a nondestructive test for defects open to the surface. It may be used on such materials as aluminum, magnesium, brass, copper, cast iron, steel, stainless steel, carbides, stellite, certain plastics and ceramics. The essentials of the method are: penetration of the defect by the Dye Penetrant - removal of the excess Penetrant from the surface - development of the indication - inspection. A deep red indication will mark the defect.
Surfaces should be free of foreign materials and paint. Grease, oils, etc., prevent penetration and should be removed by precleaning with
Cleaner/Remover or by solvent degreasing. Scale, sand, dirt, etc. trap penetrant and hinder removal, therefore wire brushing or similar
precleaning is necessary. Paint must be removed from areas to be tested.
Coat the part or section to be inspected with Cleaner/Remover.
Allow cleaner to remain on part long enough to dissolve dirt or film.
Wipe dry with a clean cloth.
Repeat if necessary.
After final clean wiping, allow time to dry before using Penetrant.
Clean the same day inspection is conducted.
Spray or brush the part or section to be inspected so that surface is covered with penetrant.
If penetrant pulls back in droplets, stop and clean part again.
Allow penetrant to remain on the part from 10-30 minutes.
Longer penetration times may be needed for locating extremely fine, tight discontinuities.
When sufficient penetration time has been allowed, wipe the surface clean with a clean towel or cloth.
Repeat if necessary. Some surfaces will require only wiping.
In general, however, remove excess surface penetrant with clean cloths premoistened with Cleaner/Remover.
DO NOT flush surface with Cleaner/Remover because this will impair sensitivity. Repeat this procedure with additional wiping until residual surface penetrant has been removed.
Shake the pressure can vigorously until the agitators rattle inside, or thoroughly stir bulk developer.
Spray the part or section to be inspected with developer, just enough to wet the part thinly and evenly, no more. Proper thickness will dry to an even white layer. Too much developer will mask indications; too little will not develop the indication sufficiently.
For ease of application, hold spray can 8 to 12 inches above part and spray short 6 to 8 inch sections at a time.
Allow developer to dry.
Watch for large cracks to show up immediately. Smaller cracks may take a few minutes to develop the best indication.
Defects will be marked by a deep red indication. A line or dotted line marks a crack, lap, forging burst or cold shut. If wide and deep, the indication will grow and spread. Porosity, shrinkage, lack of bond, and leaks will appear as dots or local areas of color. These, too, will grow and spread if the defect is large or extensive.
Check required specifications before beginning penetrant inspection.
Certifications, SDS, PDS, and instructions are available at www.magnaflux.com
Verify that parts to be penetrant tested are clean and dry before applying penetrant.
Magnaflux offers PeneCert Testing Service for in-process penetrant materials. Contact Magnaflux Customer Service for details at support@magnaflux.com.
Magnaflux penetrant products are available in kits for convenience and portability.
Published August 22, 2017
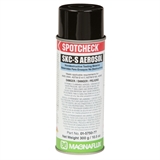
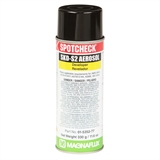
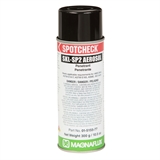
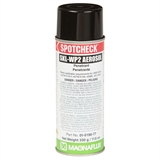
| SKC-S | SKD-S2 | SKL-SP2 | SKL-WP2 | ||
|---|---|---|---|---|---|
|
|
|
|
|
||
|
Part Number |
01-5750-78 |
01-5352-78 |
01-5155-78 |
01-5190-78 |
|
|
Description |
Non-halogenated |
Solvent based |
Post-emulsifiable |
Water Washable |
|
The Magnaflux team is happy to assist you with your nondestructive testing needs. Please opt-in to Tracking cookies to use the contact form by clicking Cookie Settings and updating your preferences to complete our contact form. If you do not wish to opt in, you can connect with us at support@magnaflux.com or call us at +1-847-657-5300
155 Harlem Avenue
Glenview, IL 60025, USA
Telephone: +1 847-657-5300
Contact Magnaflux Customer Service